


At this point we add some masking fluid to the bottom of her dress. I want to imitate roots, so we keep that in mind. I also add some on the spots and eye of the fawn. Now let’s leave it to dry! try some more multi tasking and paint the birds and the nest in the mean time.. You can go with your imagination here, use whatever colors you like. ;P
We can also start adding the grass with a mixture of sap green, dark green, and reddish brown. (Make sure to add enough water when we lay our stencils and/or plastic wrap down.)
Once that is dry we can take off the texture elements and soften the edges of the mushrooms by ‘scrubbing’ lightly (don’t use your best paintbrush for this!) with clean water then dabbing with a paper towel. If you want to skip this process that’s fine, it takes a lot of patience, but the results are a softer transition and a sort of “glowing effect”., which I really like.
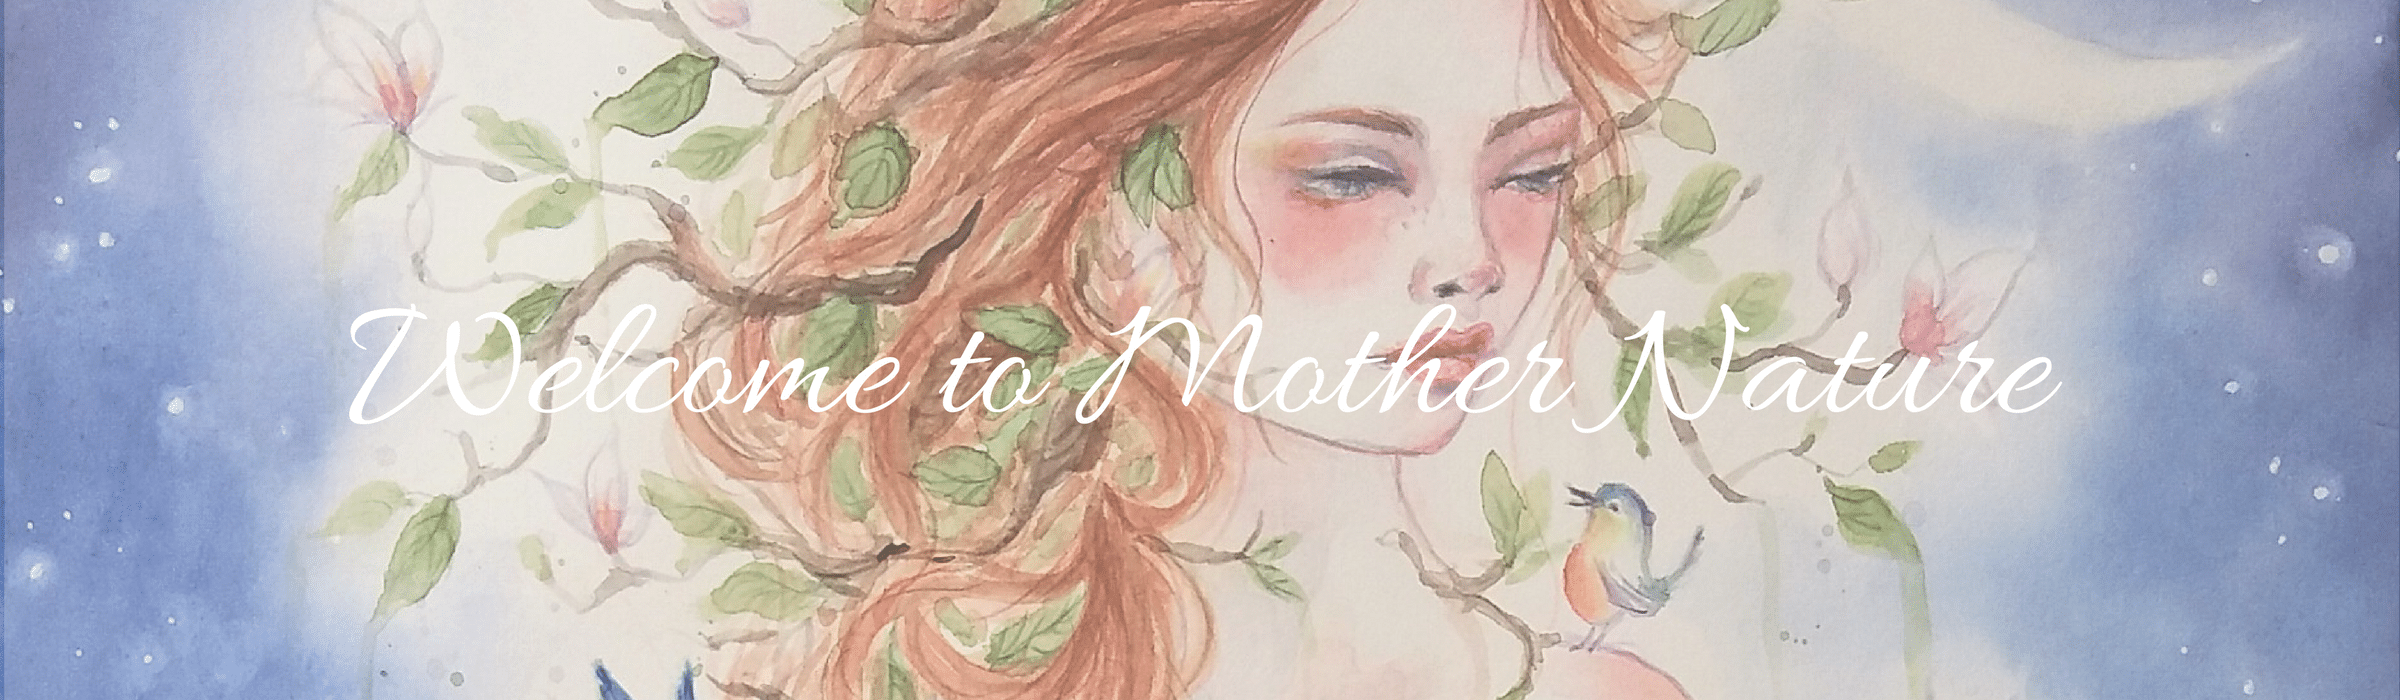
I also like to add some little dots of masking fluid to the sky for stars, and draw a moon crescent up in the right corner. To me the moon symbolizes magic, femininity, intuition, and helps nature’s cycles, that’s why I use it so much in my artwork. It’s just pure magic!
I also soften the roots to get rid of the harsh edges (remember this is a matter of preference, you also skip the ‘softening’ process) . I’m also adding some thin lines of roots with the white gel pen.
Next, we start to paint the sky.
First we will wet the area we want to add the color, so that it will spread more organically. We want to avoid the area closer to her head, as to leave a ‘glow’ effect and not have the blue seep into the flowers and leaves. Once our paper is wet, we can mix up some bright blue, purple and Indigo and drop that in.
As we move towards her, we thin out the color out with a clean brush, and dab the end so as not create ‘harsh edges’. Make sure to move your paper around so that it doesn’t create puddles in some areas. I also take a small brush with some clean water and flick it over the surface, creating some texture in the sky, which we will later accentuate with the ‘lifting out’ technique.
Then once sky layers are dry, we can remove the masking fluid for the stars, and we soften that rubbing into it with a clean slightly wet brush and dab it, (just like we softened the roots earlier on). I also lift off some color, using the same technique, in some of the areas where we dripped and flicked in the clean water. Then the white gel pen comes in handy for adding some smaller star clusters.