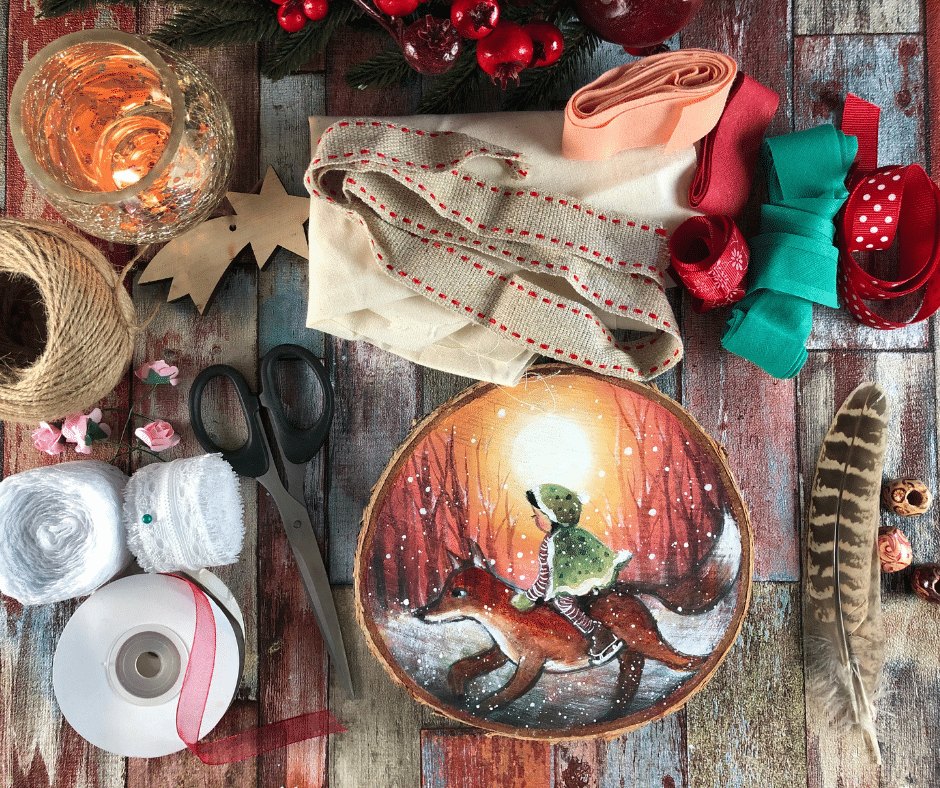
Once we have all our supplies ready we can begin to rip pieces of cotton cloth or textile and cut some length of ribbon.
Part four – The dreamcatcher
We can use a variety of colors and types of textile, cutting them at different lengths and thickness. To each strip we can add sting, ribbon, feathers and/beads. (I like to use similar pattern feathers and colors of the painting to be cohesive.)
Be creative! Look around the house and see what can be turned into creative use. Some other items I’ve used before while creating these dreamcatchers with my kids were:
- raw pasta (painted)
- pine combs
- cinnamon sticks
- paper cut-outs
- dried orange slices
- shells
- fishing net
- dried herbs or flowers
- bits of wood
- rough stones and crystals
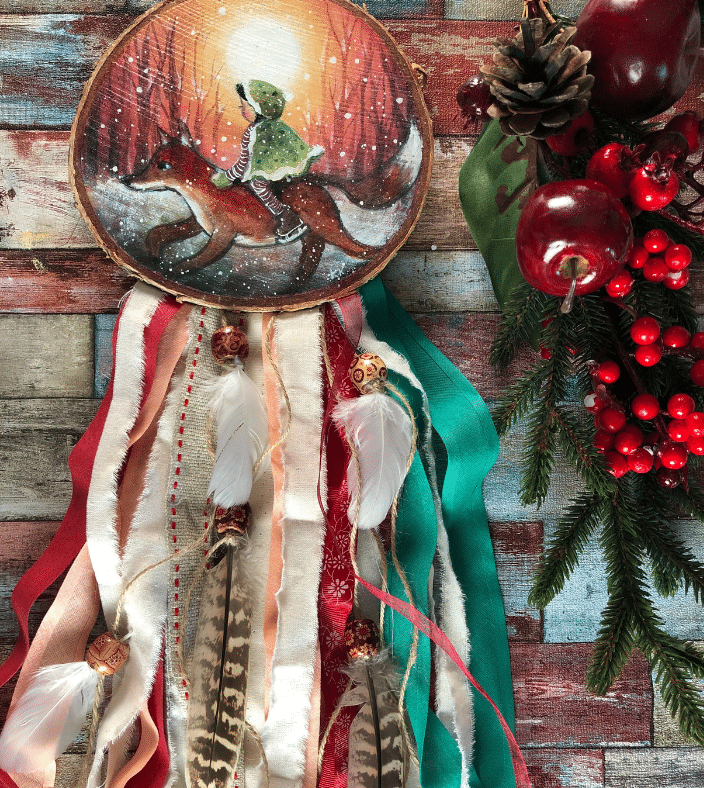
Once we have an idea of our layout we can start attaching them to the wood round.
As a last step we add a hook to the back so we can hang it up. You can even attach a string to the top so you can hang from above.