Description
There is total of 5 videos (about 1 hour and 40 minutes) of video content + a printable supportive PDF & drawing template.
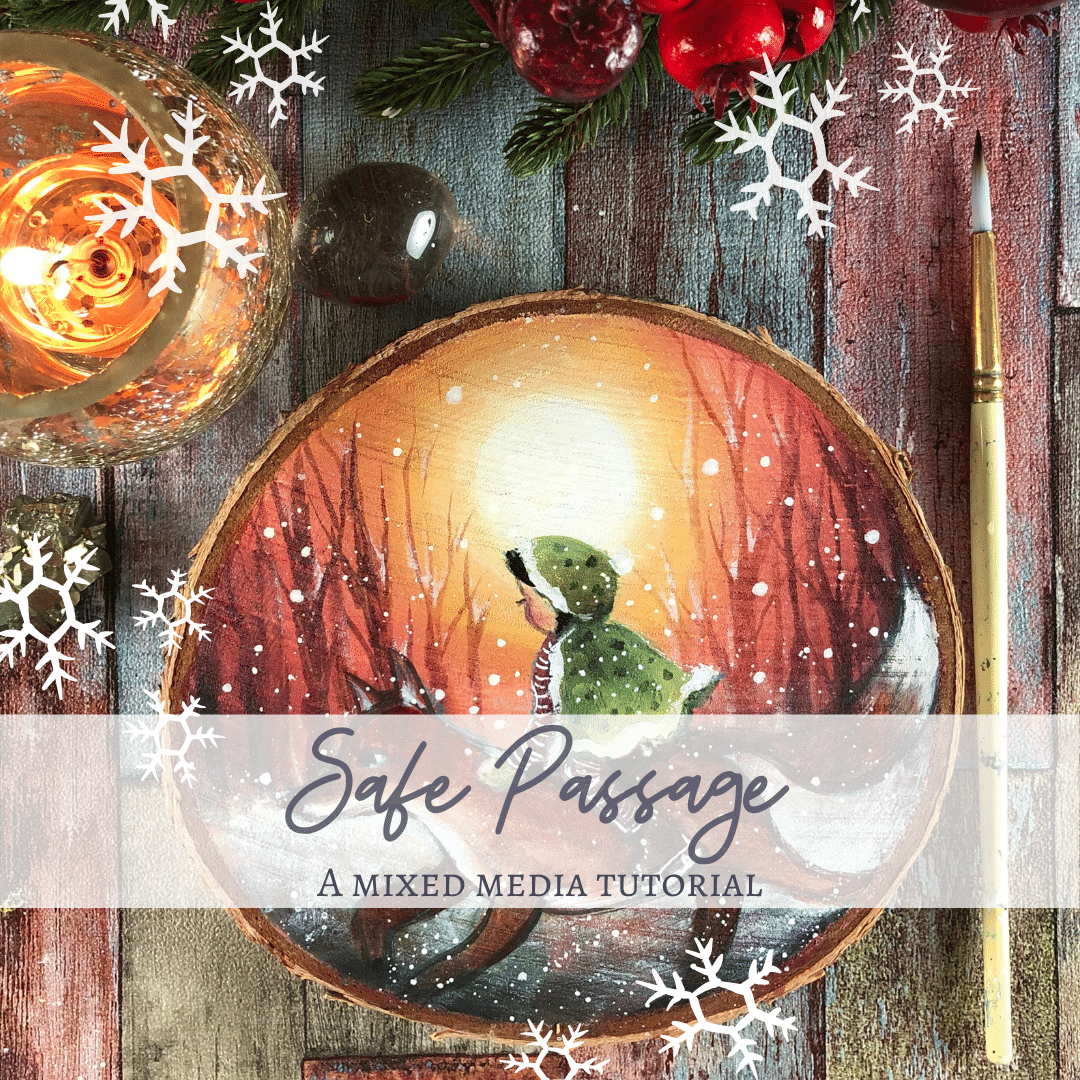
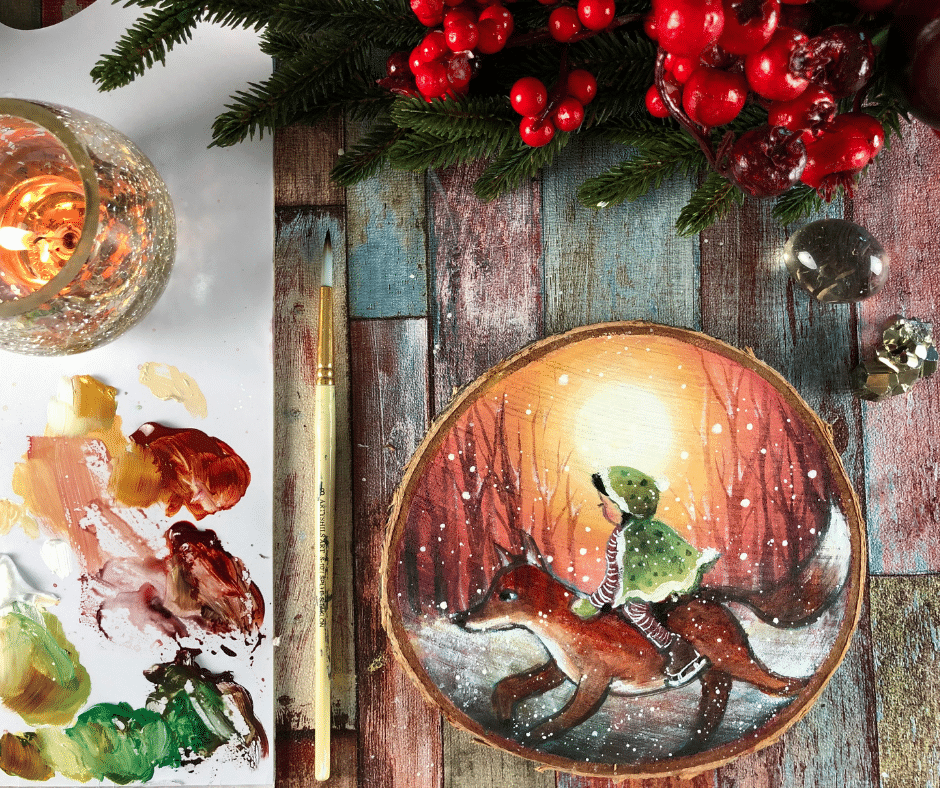
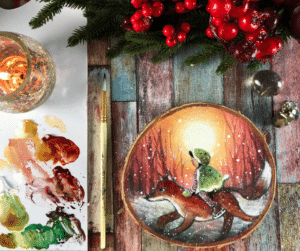
Project one: Safe Passage
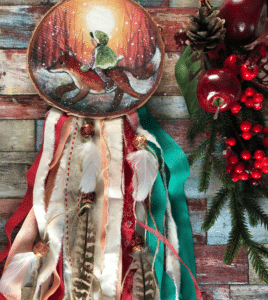
Project Two: Making it into a Dreamcatcher
All the videos are downloadable and you have lifetime access.
After you sign up, you can instantly access your class from your personal classroom.
WHAT WILL YOU LEARN IN THIS CLASS:
- Various acrylic techniques
- Creating a story though art
- Choosing a cohesive color palette
- Drawing characters in movement
- creating luminous layers
- Creating an organic dreamcatcher
- Painting an animal
- creating a profile figure
- Using acrylic on wood
- And so much more!
WHAT KIND OF SUPPLIES TO I NEED FOR THIS WORKSHOP?
YOU DON’T HAVE TO GO BUYING EVERYTHING ON THE LIST, MANY THINGS MIGHT BE SUBSTITUTED FOR MATERIALS YOU ALREADY HAVE! BELOW IS A LIST OF TOOLS I WILL BE USING, ALONG WITH LINKS. DON’T HESITATE TO ASK IF YOU HAVE ANY QUESTIONS
FOR THE PAINTING:
- Small wood round (I used 6x6x1 inch), or round canvas
- Gesso, palette, napkins or rag
- Paintbrushes, some small rounds and flats, and a scruffy one for dry-brushing and varnishing
- Heavy body Acrylics: Please use what you have! But if you want to use what I used: Titanium white, burnt sienna, burnt acra orange (or Indian red), burnt umber, black, green gold, emerald green, yellow ochre (or yellow oxide), deep violet, deep magenta, quinacridone blue violet.
- Final Varnish to protect your wood-round (I used Liquitex satin varnish)
- White posca pen or sharpie
- White or colored pastel pencil
FOR THE DREAMCATCHER:
- Ribbon, lace, white cotton or patterned material, string, large wooden beads, feathers, etc.
- large stapler or glue gun to attach the strips to the wood or canvas, Scissors
- A Hook to hang up the dreamcatcher (and small nails/hammer, or glue gun to attach it)
